Uploading Files
There are two main ways to upload files to your Moodle course. In addition to having individual files displayed on your main course page, you can also have Folders that contain multiple files. An example of how Folders are used is to upload PPT presentations after each class so that they are all in one place. Click on the appropriate accordion below for instructions.
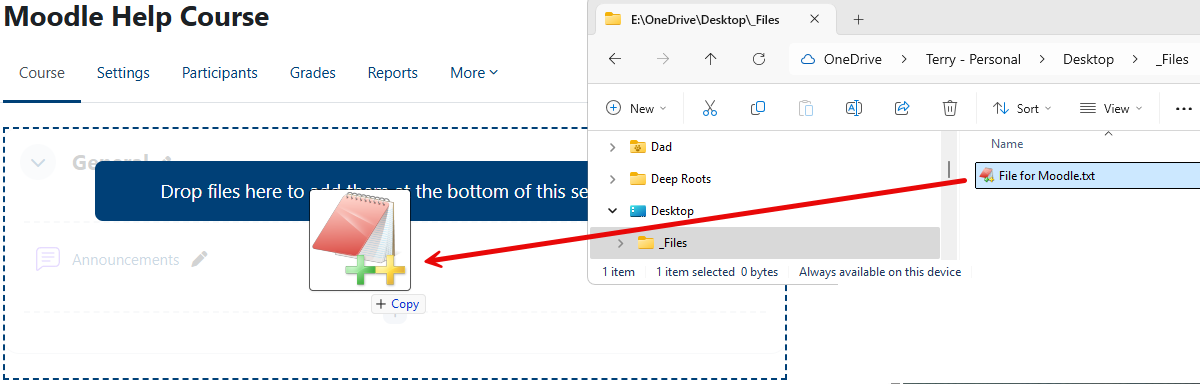
The simplest way to upload a file to Moodle is the drag-and-drop method.
In the top right corner of your course page, click on the Edit mode button to move it to the right, which allows you to edit your page.
| Off |  |
On |  |
Once you are in Edit mode, you can use drag-and-drop to add a file to any Topic (right-click and hold the button on the file to drag, drag the file to the appropriate Topic, and let go of the right mouse button when you are there). The file will be added to the bottom of that Topic's section.
If you prefer the old-fashioned way of selecting and uploading a file, this is for you.
In the top right corner of your course page, click on the Edit mode button to move it to the right, which allows you to edit your page.
| Off | |
On | |
Click on the ![]() icon and select Activity or resource to get a list of options.
icon and select Activity or resource to get a list of options.
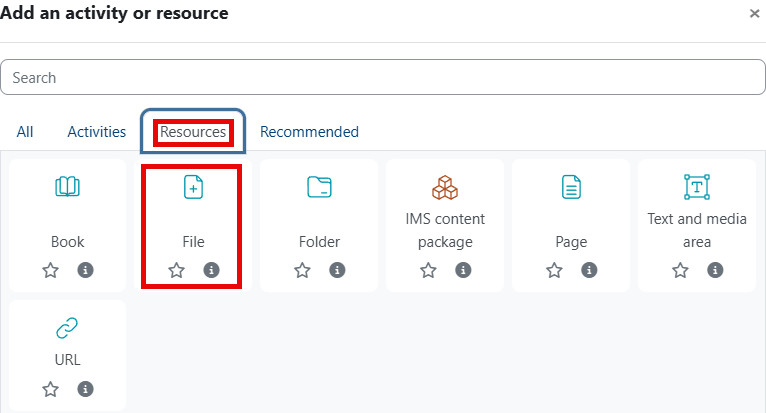
After clicking on Add an activity or resource, select the Resources tab and then click on File.
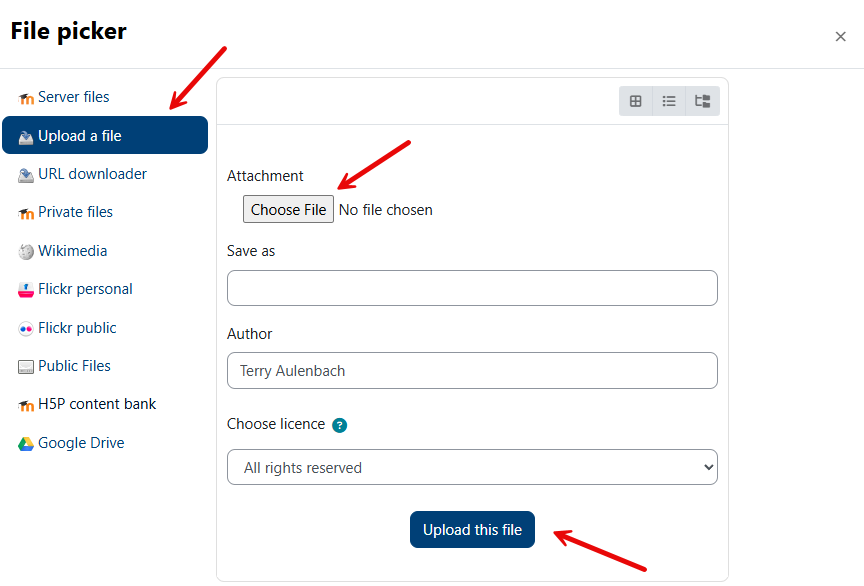
Enter the link Name for the file to display on the course page, enter a Description if you wish, then click on the Add... button ![]() in the Select files section to browse and select your file.
in the Select files section to browse and select your file.
When you are done, click on either Save and return to course or Save and display based on your preference.