Adding A Section
As with any other editing of your course, first you must ensure you are in Edit mode. In the top right corner of your course page, click on the Edit mode button to move it to the right, which allows you to edit your page.
| Off |  |
On |  |
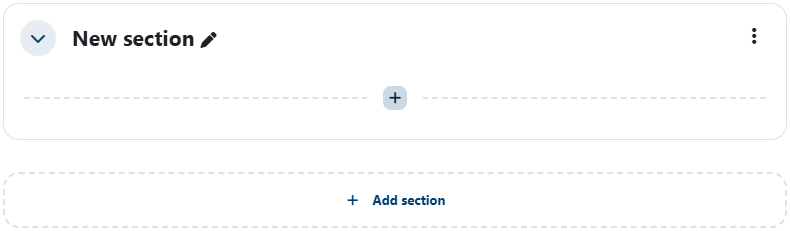
Sections (previously Topics) can be added at the bottom of the course page. Simply scroll down to the bottom of the page and click on the Add section button.
Renaming A Section
A Section can easily be renamed. For example, you can name your Sections based on the week dates or the topic you are covering. With your course in Edit mode, click on the pencil icon next to the Section name, replace that name with your preferred text, and hit the Enter or Return key on your keyboard to finalize the renaming.


Deleting a Topic
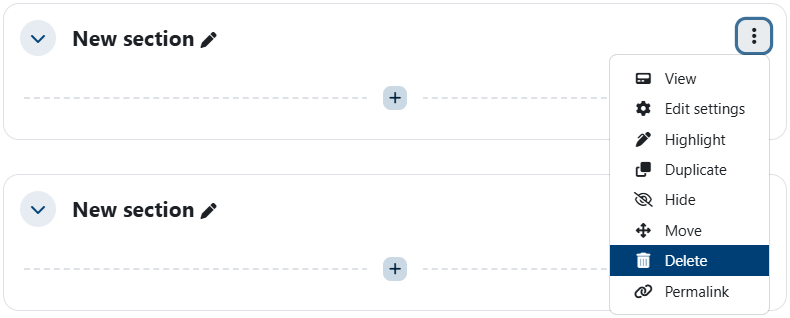
Removing a Section is similarly straightforward. Click on the 3 dot menu on the right of the Section and select Delete Topic.
Subsections
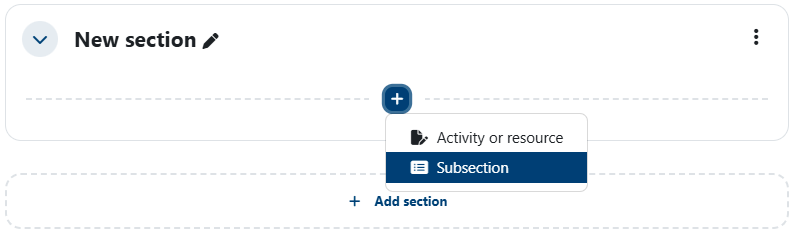
Moodle now allows for Sections within Sections, aka Subsections. Subsections are included when counting the number of Sections being used in a course, which is limited by Moodle administration settings. With your course in Edit mode, click on the ![]() icon and select Subsection.
icon and select Subsection.
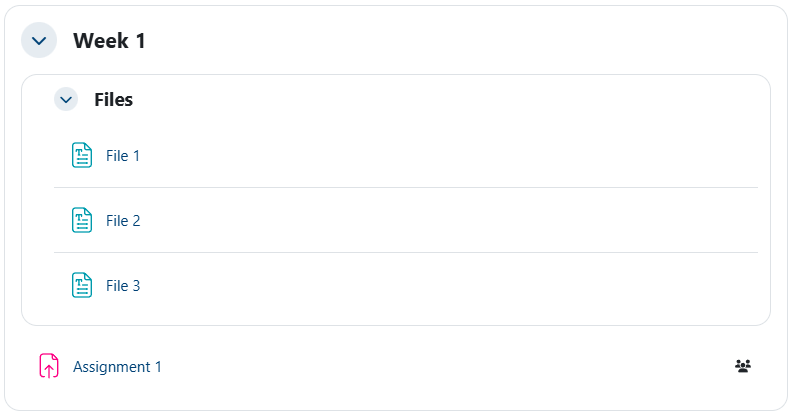
This creates a new Subsection within your current Section. Subsections allow you to group items more easily and in a way that you can minimize/maximize a group of items. For example, you may want to have a number of files listed without using the Folder resource.